Auto-level a site
When you move your machine around a site, Trimble Earthworks collects data about your machine's elevation. You can display this data as a Cut / Fill map on your TD5x0 screen in real time. This makes it easier to see what's above, below, and on grade when you're leveling a site.
You can also tap and hold a point on the screen to see exactly how much material you need to move there. Being able to easily see this data on your screen helps you work efficiently because you can move material where it needs to go the first time, with fewer passes.
Watch the video
Watch an expert operator use the Cut-Fill Mapping feature in Trimble Earthworks to level material on a site.

Step by step
-
Make sure your screen is showing Plan view in one of the viewing panes.
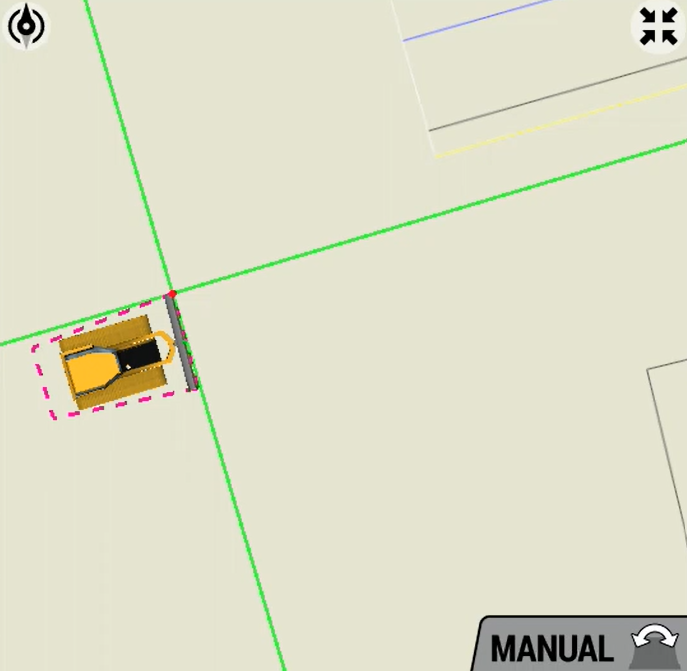
To change a view, tap and hold in a viewing pane > Select Change View.
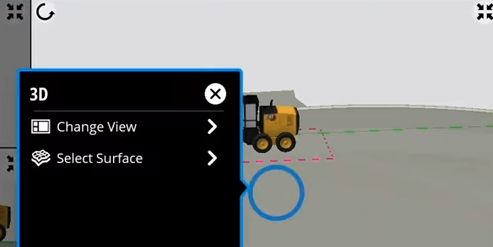
-
To show Cut / Fill Mapping data, tap the Map
 icon.
icon.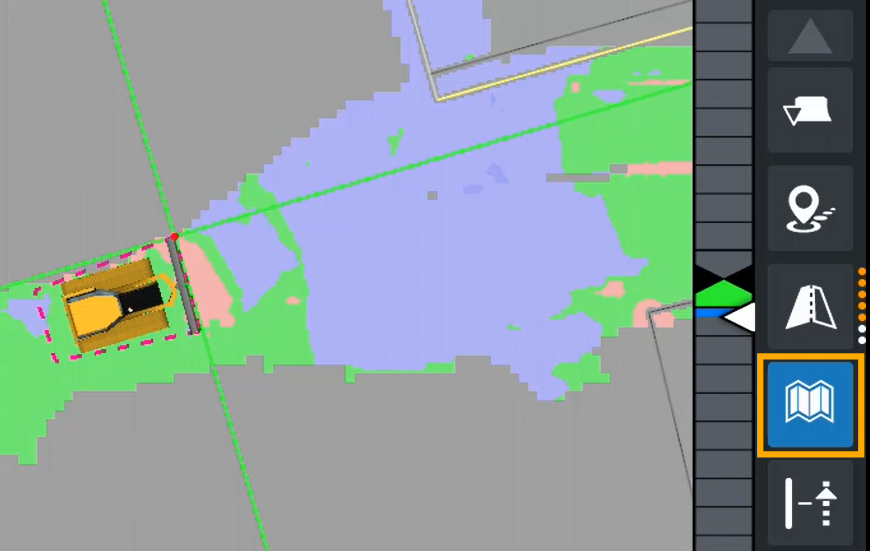
You'll see a map of the high and low spots on the site:
-
Green shows which areas are on grade.
-
Red shows the high spots you need to move material from.
-
Blue shows the low spots where you need to fill in material.
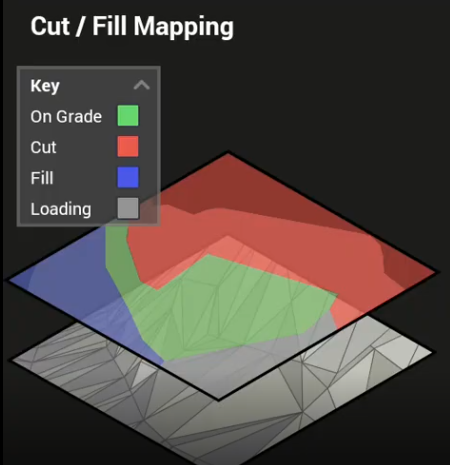
TIP – To change these colors, tap the System Settings
 icon > tap Grade Tolerance.
 -
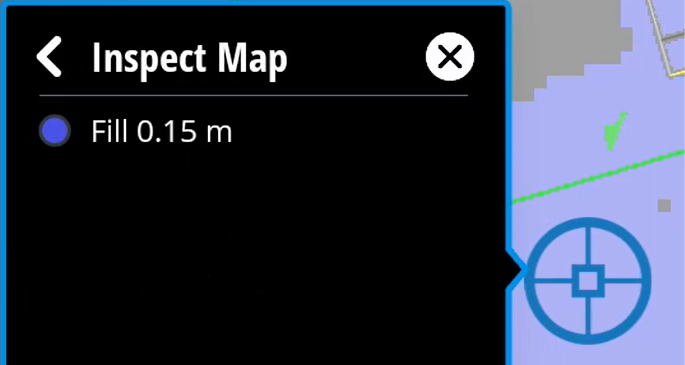
To inspect an area, tap and hold it on the map.
-
To see the exact value of an area, tap Inspect Map.
You'll see how much material you need to move at that part of the site.
NOTE – The Cut / Fill map is relative to the elevation offset you have active. This includes any Working Surface offset you've applied. The map will be regenerated each time you change offsets, and when you switch Lane Guidance on or off.
-
To start leveling the site, use the Cut / Fill map to plan the most efficient way to move material from high spots (red) to low spots (blue).
Trimble Earthworks v2.24. Updated June 2026.
